This morning I was in a hurry to get out the door and start my day, so instead of braiding my hair I put it up in this simple style that took less than 3 minutes. First I clipped a tiny section near the top to give my hair a nice poofy look. Then I put my hair into a low ponytail, and pulled the clipped section out a little bit so there was a slight beehive effect to my ponytail when viewed from the side. I divided my ponytail into two sections and wrapped one section into a bun then wrapped the other section around it to add extra volume to my bun. Here are some pictures of the finished look:
Hairstyles pictures of long hairstyles, medium length hairstyles and short hairstyles, prom hairstyles, wedding hairstyles and hair updos with best hairstyles pictures of curly, wavy and straight hair
Tuesday, August 6, 2013
When you don't feel like braiding...my look for today
Hi friends,
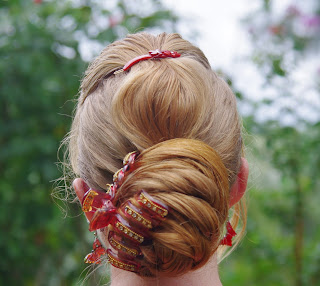
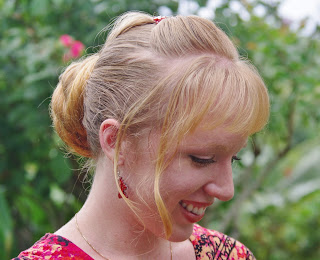
This morning I was in a hurry to get out the door and start my day, so instead of braiding my hair I put it up in this simple style that took less than 3 minutes. First I clipped a tiny section near the top to give my hair a nice poofy look. Then I put my hair into a low ponytail, and pulled the clipped section out a little bit so there was a slight beehive effect to my ponytail when viewed from the side. I divided my ponytail into two sections and wrapped one section into a bun then wrapped the other section around it to add extra volume to my bun. Here are some pictures of the finished look:
This morning I was in a hurry to get out the door and start my day, so instead of braiding my hair I put it up in this simple style that took less than 3 minutes. First I clipped a tiny section near the top to give my hair a nice poofy look. Then I put my hair into a low ponytail, and pulled the clipped section out a little bit so there was a slight beehive effect to my ponytail when viewed from the side. I divided my ponytail into two sections and wrapped one section into a bun then wrapped the other section around it to add extra volume to my bun. Here are some pictures of the finished look:


.jpg)